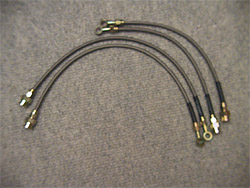
two short ones for the rear and two larger ones for the front. (Mike Satur: £36.00
excl. VAT for a set of 4)
M O D I F I C A T I O N S : BRAKES, Stainless braided brake hoses
The parts - stainless braided hose kits
| Black
Diamond stainless braided hoses, two short ones for the rear and two larger ones for the front. (Mike Satur: £36.00 excl. VAT for a set of 4) |
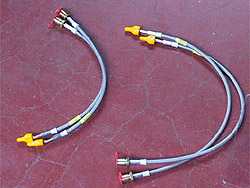
Goodridge stainless braided hoses, shown with protection caps (yellow and red). They are different from the Diamond ones as these have a clear plastic cover around the stainless tubing... making them easier to clean (if you should feel the urge to do this). |
|
|
|
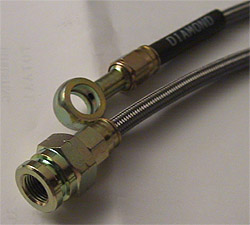
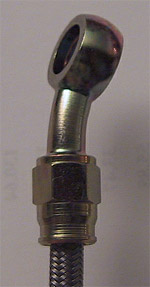
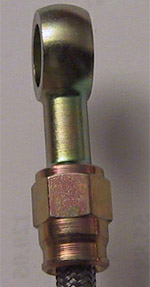
Not only the size of the hoses is different bewteen the ones for the front and those for the rear. Have a look at the connector that will sit at the side of the calliper to:
 |
 |
Installation is quite straight forward once you know how to bleed the brakes and you have the proper equipment. It may sound silly, but a good bleeding tool is necessairy. Although it can be done with a hose and a jar, it is much easier if you go out and buy a proper kit. The hose will fit nicely on the nipple, the hose is clear and you won't spoil any brake fluid on the floor.
How the installation looks like
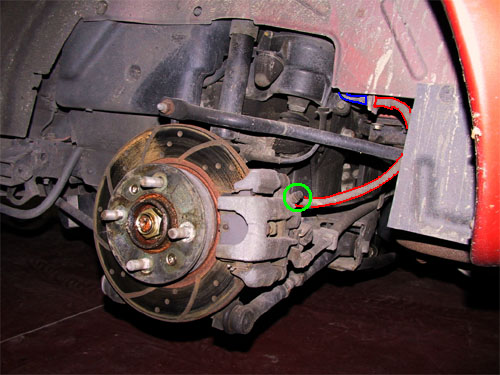 |
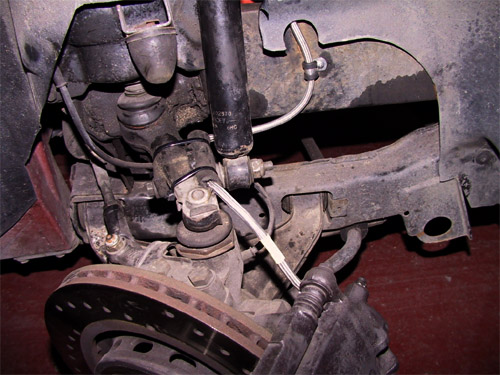
This picture (click to enlarge) shows the situation at the rear axle. The green circle on the picture points to the bleeding nipple while the red lines are indicating the contours of the original brake hose. The blue lines are indicating the brake lines going to the ABS or master brake cillinder. |
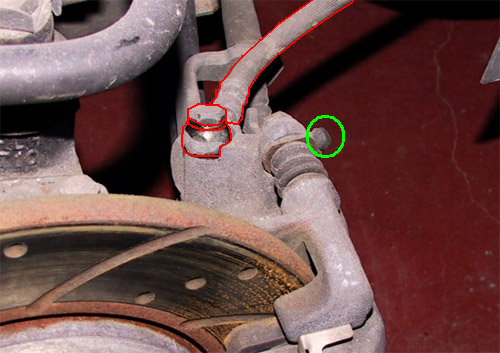 |
Seen from another angle: brake hose with connector and a washer and bolt on top of it. |
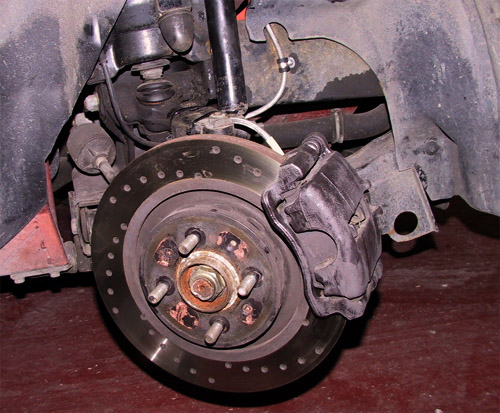 |
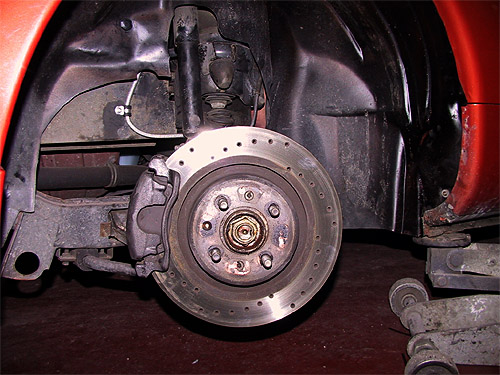
The situation at the front, with the new stainless braided hose in place. |
 |
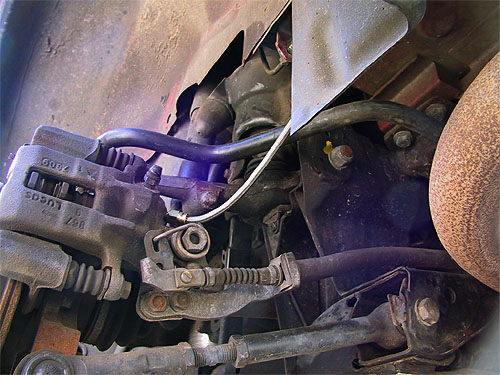
To prevent the hose from moving too much (and getting damaged), it is secured in two places. We used a piece of rubber coming from the original hoses, kept in place with two cable ties. The brake hose can slightly move in this piece of rubber but won't get damaged. |
 |
Another shot with the brake hose in place. |
 |
And to end, a picture of the braided hose at the rear. |
Bleeding the system
Please note that it is important to follow a certain sequence when bleeding the brake system (as stated in the workshop manual).
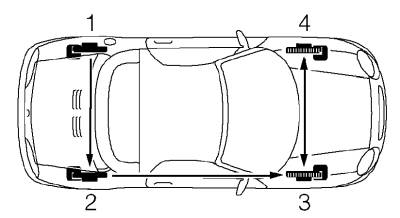
Turn on the engine, push the brake pedal several times. Then keep your foot down on the brake pedal while a second person opens the bleeding nipple. Brake fluid will escape and the pedal will go down to the floor. Close the nipple and start pushing the brake pedal again getting a firmer pedal feel with every push. Repeat the procedure untill only brake fluid escape an no air bubbles can be seen in the plastic hose of the bleeding kit. Bleed in the sequence as shown above.